

Plan a National Park Trip After 50
Senior Pass rules, comfortable routes, accessibility and reservation checks
Quick answer: Choose a park that fits your preferred pace, check that park’s current alerts and reservations, confirm entrance fees or a qualifying pass, then select comfortable viewpoints and trails using specific accessibility details. Do not confuse a Senior Pass with a guarantee of a timed-entry reservation, available parking or accessible transportation.
A national park trip can mean a dramatic canyon overlook, a quiet nature trail, a ranger program or simply an afternoon at a beautiful visitor center. There is no required mileage, fitness level or travel style. For U.S. adults over 50, the smartest plan is one built around what your group actually enjoys. This guide shows how to make that plan without relying on generic “best parks” rankings or assuming everyone wants a challenging hike.
1. Choose a park based on the actual day you want
Start with one desired experience: dramatic scenery, wildlife viewing, history, an easy walk, birdwatching or a relaxing drive with good viewpoints. Use the official National Park Service Plan Your Visit portal to find a park by activity and location. Then open that park’s own “Plan Your Visit” pages; national parks can have very different roads, accessibility options, seasons and operating schedules.
- Pick one primary experience and one optional backup.
- Estimate the full travel day, including driving, meals, stops and returning to your lodging.
- Read current park alerts and identify one short activity that can be enjoyed without rushing.
- Check restrooms, visitor-center hours, seating and parking near your first stop.
- Arrange lodging or a nearby home base before adding several distant attractions.
2. Senior Pass eligibility: 62 is the threshold, not 50
The federal America the Beautiful Senior Pass is specifically for eligible U.S. citizens and permanent residents aged 62 or older. Being 50, 55 or 60 does not qualify a visitor for this age-based pass. Younger travelers should investigate the regular entrance fee, other valid passes or any other eligibility category that genuinely applies.
As of this article’s October 10, 2026 review, the National Park Service lists the Senior Annual Pass at $20 and the Senior Lifetime Pass at $80. These amounts are for the eligible U.S. citizens or permanent residents; ordering or processing costs can vary by channel. Review the current NPS Senior Pass information before purchase.
Which fees does a Senior Pass actually cover?
Senior Passes generally cover entrance or standard amenity/day-use charges at participating federal recreation sites. At per-vehicle locations, the pass typically covers the passholder and passengers in a noncommercial vehicle; at per-person fee sites, the passholder and up to three additional adults are generally admitted. This is not the same as automatically covering lodging, separate activity reservations, commercial tour charges, special permits or every concession-operated service.
How can you obtain one?
NPS identifies in-person purchase at eligible participating sites, physical passes through official channels and digital passes through Recreation.gov. Physical mail orders take time; a receipt is not automatically interchangeable with the required pass. Eligibility documentation and accepted credentials matter. Always check the current purchasing directions rather than responding to a random pass-sale advertisement.
What if you are not a U.S. citizen or permanent resident?
The Senior Pass rules do not automatically extend to every traveler living outside the United States. Starting in 2026, several parks also have new non-U.S.-resident entrance fee arrangements. Check the actual park’s fee page and the NPS pass program for your travel status; do not budget from an outdated screenshot.
PARK → PASS → ACCESS → ALERTS
Pick your park • Verify entry and booking rules • Match the route to your group • Recheck conditions
3. A park pass does not always replace a reservation
Some parks or activities use timed-entry reservations, campsite bookings, special permits, shuttle ticketing or separate tour arrangements. These programs vary by park and date, and a valid federal entrance pass may cover only the entrance portion. A campground reservation is also a different product from an entrance pass.
- Look for official “Fees & Passes,” “Reservations,” “Current Conditions” and “Alerts” sections for your particular park.
- Confirm whether vehicle entry, a specific road, a popular trail, a campsite or a guided tour requires separate booking.
- Record entry windows, reservation numbers, cancellation deadlines and exact meeting locations.
- Be cautious of advertisements or resellers that imply they control government entry reservations. Use official park directions and Recreation.gov where appropriate.
4. Choose a route that works for your group
Trail length is only the beginning of a comfort assessment. A short route can include steep grades, steps, loose gravel, strong sun, high altitude or little shade. Consider the walking surface, slope, access to benches, restroom distance, exposed edges and whether every traveler can comfortably return without a long wait.
The National Park Service provides accessibility planning resources and recommends contacting the individual park about access needs or reasonable modifications. The official NPS App offers maps and some on-the-ground accessibility details, but individual features must still be confirmed with the park.
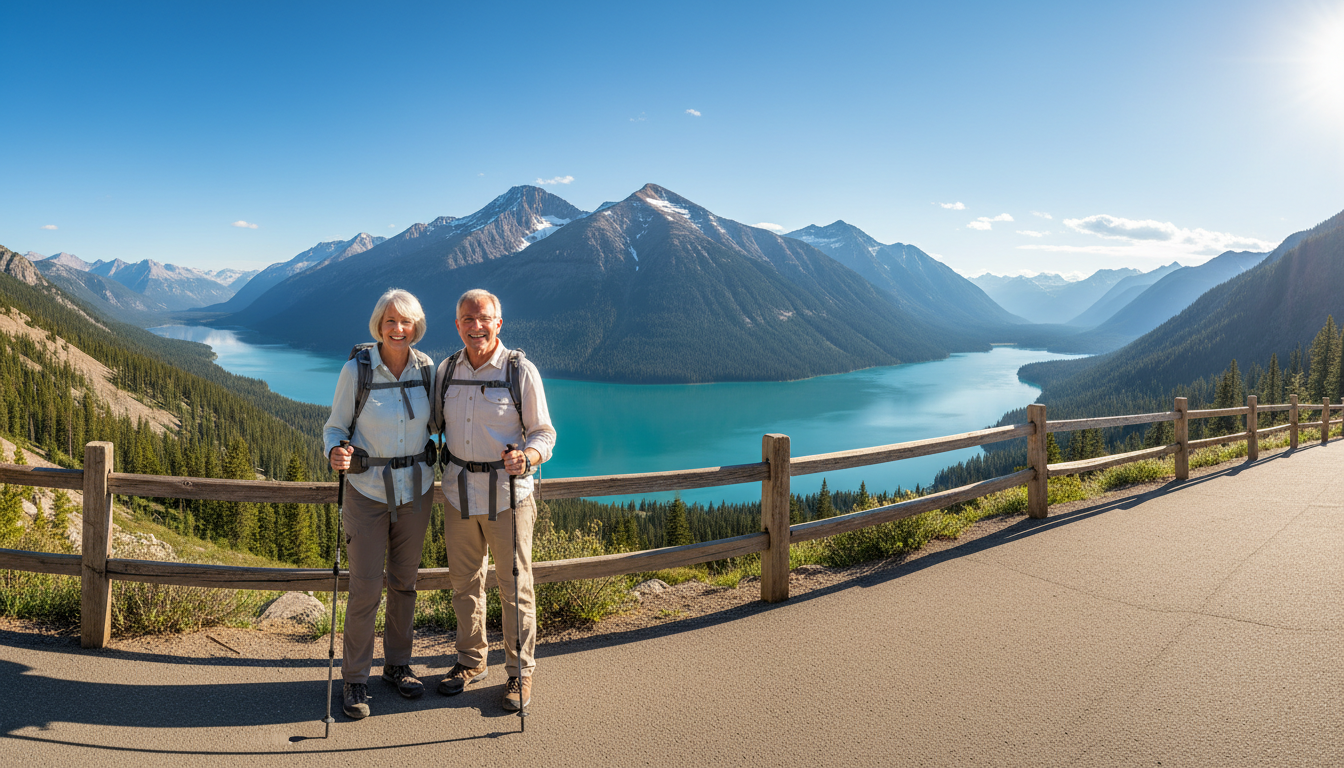
CHOOSE A COMFORTABLE ROUTE
Check trail surfaces • Restrooms • Scenic viewpoints
A simple comfort-first route comparison
| Question | Option A: scenic viewpoint | Option B: trail |
|---|---|---|
| Time on feet | Short walk from parking | Longer outing |
| Surface and grade | Check paved access and slope | Check grade, steps and rock |
| Rest and facilities | Check benches and restrooms | Verify available facilities |
| Group preference | Views and photos | Extended outdoor activity |
These are illustrative comparison categories, not actual conditions for a named park. Choosing Option A does not mean avoiding meaningful experiences; it means choosing the experience your group wants.
5. Build a comfortable two-day itinerary
Day 1 — arrive, orient and enjoy one major view
- Arrive with time for traffic and park-entry queues.
- Ask at the visitor center about alerts, restroom locations, accessible amenities and any changes to planned routes.
- Visit one priority overlook or short attraction rather than trying to complete an entire park in an afternoon.
- Stop for water, a meal or a rest before heading to the next viewpoint.
- Return to nearby lodging with enough daylight and flexibility for changed conditions.
Day 2 — one planned activity plus a weather backup
- Check official park alerts and the local forecast again before departing.
- Choose one moderate outing, short trail, ranger program or scenic drive based on your group.
- Leave an optional second stop instead of a mandatory rushed schedule.
- If trail or weather conditions change, switch to a visitor center, lower-exposure viewpoint or another permitted safe activity.
- Leave sufficient time to return without relying on unreliable cellular coverage.
A sample trip is not a promise that any named park will have available lodgings, shuttles, reservations or accessible routes on your dates. Every important detail should come from that park’s official pages.
6. Prepare for weather, elevation and limited cell service
Conditions can shift between a warm entrance station and a cold, windy overlook. Check the weather for the actual elevation and area you plan to visit, not just the closest large town. Follow closure notices and ranger instructions, especially around flooding, wildfire smoke, snow, extreme heat or icy trail surfaces.
- Bring a charged phone and a saved offline map; do not assume mobile reception exists in remote areas.
- Carry water, layers, sun protection, any essential medications and a practical first-aid kit suitable for your plans.
- Agree on where the group will meet if separated, and do not approach wildlife for close-up photos.
- Know when to turn around: an activity can be enjoyable without reaching its farthest endpoint.
- Never enter a closed route based on an old blog post, social-media photo or navigation suggestion.
The NPS official app may allow offline park information downloads. The NPS Trails & Hiking guide points visitors to park-specific hiking information and accessibility resources.
7. Budget beyond the entrance fee
The entry charge may be a small share of the total trip. Compare fuel or transport, accessible lodging, paid parking if applicable, meals, shuttle or tour reservations, equipment, cancellation rules and trip insurance where relevant. A pass purchase should be evaluated against your actual planned visits, not a promise that you will save a particular amount.
Illustrative comparison: If a traveler expects multiple participating federal site visits, comparing the individual entrance fees against an annual or lifetime pass can be helpful. The best value depends on the traveler’s eligibility, sites visited, actual current fees and any separate costs. Do not assume a pass covers every companion on every type of entry.
8. Pack a one-page park trip plan
- □ Park selected; official website and alert page saved.
- □ Entrance fees or eligible federal pass confirmed for every traveler.
- □ Timed-entry, campsites, tours and permits checked separately.
- □ Main viewpoint and shorter backup activity selected.
- □ Trail surface, elevation, rest stops and accessible facilities verified.
- □ Road closures and park shuttle schedules checked near departure.
- □ Weather layers, water, supplies and offline map packed.
- □ Lodging address and emergency contact details available.
- □ Return time leaves a comfortable buffer before dark.
Frequently asked questions
Can a 55-year-old buy the America the Beautiful Senior Pass?
Not based on age. The Senior Pass is for eligible U.S. citizens or permanent residents age 62 or older. Other pass categories may apply independently, but age 50–61 alone does not qualify.
Is the $80 Lifetime Senior Pass automatically the best value?
No. Compare your expected visits and eligible fees with the $20 annual alternative. Some people may prefer an annual option or may not need a pass at all. Review purchase fees and current official rates before deciding.
Does a Senior Pass guarantee timed entry or a campsite?
No. An entrance pass does not automatically provide a separate reservation, special activity permit, campsite or tour ticket. Check the rules of each park and activity.
Is every national park trail suitable for older adults?
No single route suits everyone. Age alone is not a reliable measure of ability. Select according to surface, grade, weather, distances, accessibility needs and individual preferences.
Should I rely on one travel blog for park access details?
No. Booking systems, road closures, fees and accessibility arrangements change. Treat travel articles as planning frameworks and confirm essential details with the individual park.
Official resources and review notes
- National Park Service — Plan Your Visit (parks, planning and preparation).
- NPS — Annual and Lifetime Senior Passes (62+ eligibility, fees, use and purchase routes).
- NPS — Entrance Passes (current pass details and limitations).
- NPS — Accessibility: Plan Your Visit (park-specific planning and reasonable modifications).
- NPS — Where Can I Hike? (park websites, app and offline information).
Reviewed: October 10, 2026. This independent research-based guide is not a firsthand review of a named park. Photographs and illustrations are conceptual travel-planning aids, not evidence that a specific facility or trail has the pictured features. Costs, entry eligibility, access and reservations can change. Always check the specific park and official federal sources before payment and travel.

